When deploying infrastructure as code I would absolutely recommend deploying it directly from github and that’s where the github action comes in to play.
Github action is basically deploying your code and this article is about how you can create a github action and deploy your (in this article bicep code).
I will use OpenID to connect to Azure you can read more about it here:
https://docs.github.com/en/actions/deployment/security-hardening-your-deployments/configuring-openid-connect-in-azure
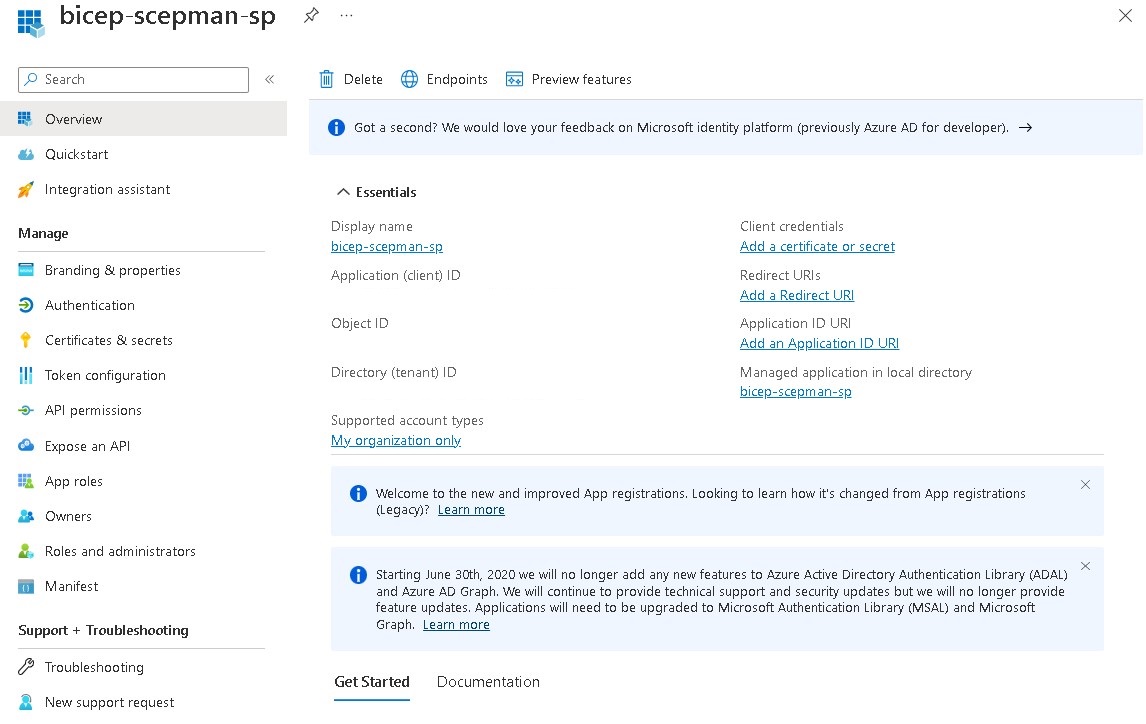
- So, to start go to Azure Active Directory, App registrations and klick New registration
- Give it a meaningful name (for this example i will use bicep-scepman-sp)
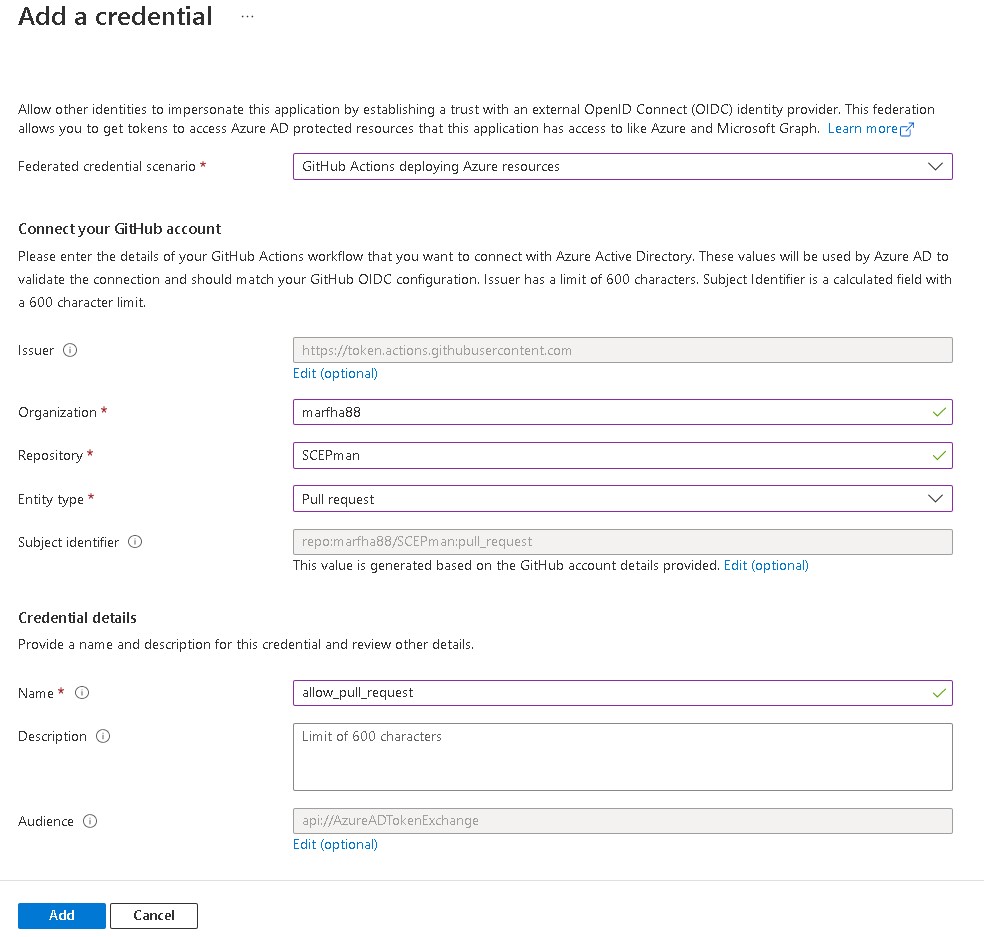
- Go to Certificates & secrets, Federated credentials

- Add at least 2 federated credentials with federated credential scenario: Github Actions deploying Azure resources.
- Create the first credential as the following example.
If you are in a github organization, write down that organization.
- Create the second credential as the following example.
- Create the first credential as the following example.
- Now we need to add the RBAC roles that the new application registration/service principal needs to deploy your code/infrastructure. always try to use the principle of least access.
But in this example, I added.- Contributor
- User Access Administrator
- Now that you have your application registration/service principal navigate to your github repo and open Settings, Secrets, Actions and add those 3 secrets:
- AZURE_CLIENT_ID = Your application registration (Application (client) ID).
- AZURE_SUBSCRIPTION_ID = Subscription where you’re going to deploy.
- AZURE_TENANT_ID = Your Azure tenant id.
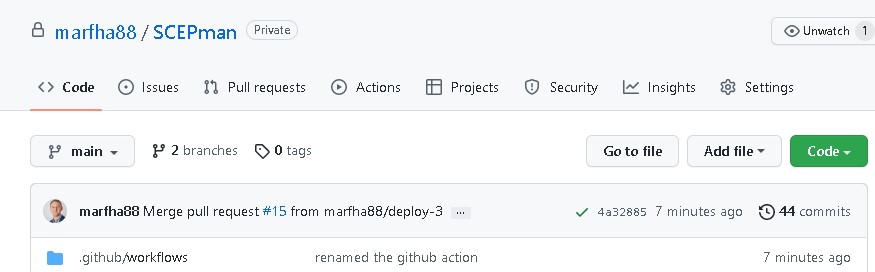
- Now in your repo create the following folder structure: .github/workflows/
You can see how it should look at repo: - Copy the bicep-deploy.yml to your repo and place it in folder .github/workflows/ (as it does in this repo)
- Open the file bicep-deploy.yml and change
- paths to your path
- az deployment group what-if -g (yourrg) –name rollout-$deploytime -f (to where you have located your file/files)
- az deployment group Create -g (yourrg) –name rollout-$deploytime -f (to where you have located your file/files)
- Change to your resource group (-g)
- The lines you need to change on bicep-deploy.yml:
- 10 – bicep-deploy-1
- 16 – bicep-deploy-1
- 48 – resource group and bicep-deploy-1
- 57 – resource group and bicep-deploy-1
# This is a basic workflow to help you get started with github Actions

name: bicep-deploy

# Controls when the workflow will run
on:
  workflow_dispatch:
  pull_request:
    paths:
     - 'bicep-deploy-1/**' ## Change this to your deployment where your files is located
    types: [opened, reopened, edited, synchronize]
    branches:
      - 'main'
  push:
    paths:
     - 'bicep-deploy-1/**' ## Change this to your deployment where your files is located
    branches:
      - 'main'


permissions:
      id-token: write
      contents: read

# A workflow run is made up of one or more jobs that can run sequentially or in parallel
jobs:
  # This workflow contains a single job called "Bicep-Whatif-OR-Create"
  Bicep-Whatif-OR-Create:
    # The type of runner that the job will run on
    runs-on: ubuntu-latest
    steps:
      - uses: actions/checkout@v2
      - name: Azure Login
        uses: azure/login@v1
        with:
          client-id: ${{ secrets.AZURE_CLIENT_ID }}
          tenant-id: ${{ secrets.AZURE_TENANT_ID }}
          subscription-id: ${{ secrets.AZURE_SUBSCRIPTION_ID }}
      # Start the Bicep validation
      - name: Azure Bicep validate what-if
        if: ${{ github.event_name == 'pull_request' || github.event_name == 'workflow_dispatch'  }} # Here we run the what-if on a Pull request or manualy from Github Action
        uses: azure/CLI@v1
        with:
          azcliversion: latest
          inlineScript: |
            az bicep install
            deploytime=$(date +"%m-%d-%y-%H")
            az deployment group what-if -g yourrg --name rollout-$deploytime -f bicep-deploy-1/main.bicep
      - name: Azure Bicep Create via azcli
        id: scepmanbicepdeploy
        if: ${{ github.event_name == 'push' }} # Here we run the bicep create when we push the code to the main branch.
        uses: azure/CLI@v1
        with:
          azcliversion: latest
          inlineScript: |
            deploytime=$(date +"%m-%d-%y-%H")
            az deployment group Create -g yourrg --name rollout-$deploytime -f bicep-deploy-1/main.bicep
# You need to change to your resource group (yourrg) and bicep-deploy-1, bicep-deploy-2 or to bicep-deploy-1 depending on your deployment.
# Or just create your own deployment and copy what you need from this repo.
Now you have a simple Github Action that deploys on a resource group scope.
You can of course scope it to:
az deployment sub create – for subscription
az deployment mg create – for management group
When you deploy new code/future always create a new branch and create a pull request with your new code. This will trigger a what-if action and a confirmation from the pull request when it has run you should confirm the result and confirm the pull request.
When you confirm a bicep create will run and the code will be pushed to the main branch.
Reference:
https://learn.microsoft.com/en-us/azure/azure-resource-manager/templates/deploy-github-actions?tabs=userlevel
https://learn.microsoft.com/en-us/cli/azure/deployment?view=azure-cli-latest